Bolt-Check
25% reduced uncertainty in bolted joints
25% reduced uncertainty in bolted joints
Reduced uncertainty in bolted joints secured the design of the world’s largest test system.
When designing on the limit of what is physically possible, the things you might not consider a problem can become a huge challenge. R&D Test Systems experienced this when designing and developing the world’s largest nacelle test bench, “HALT XL”, at Lindø Offshore Renewable Center (LORC) in Denmark.
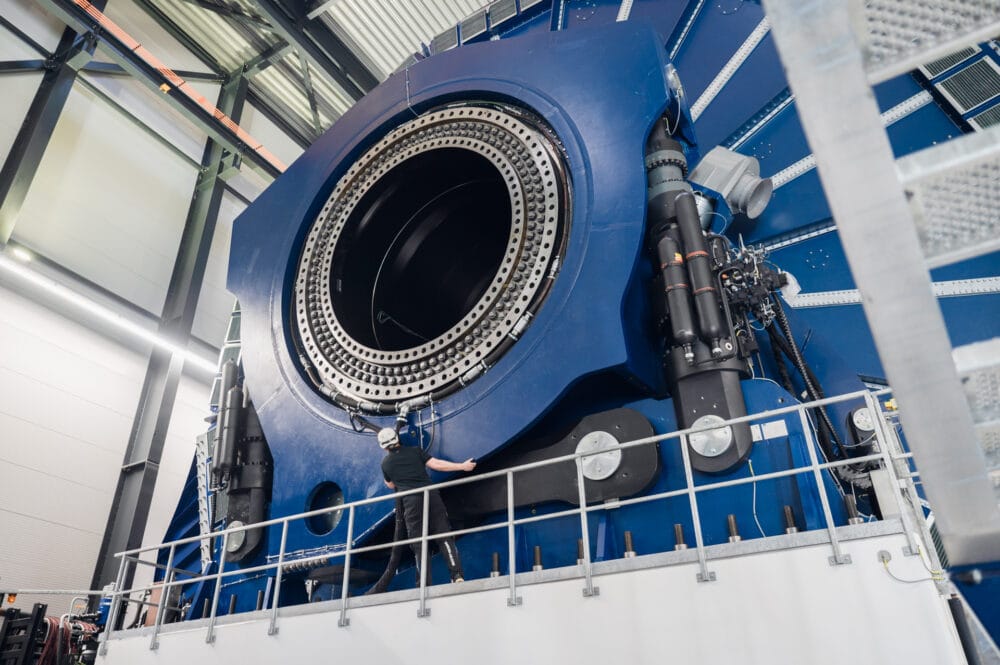
The HALT XL test bench is built to fatigue test the next generation of offshore wind turbines and simulates 25 years of wear in just six months. For the test bench to tolerate record-breaking loads, everything on the test bench had to be specially engineered and designed. R&D Test Systems is the industry-leading developer of structural testing technology and was the turnkey supplier of the HALT XL. One of the challenges R&D Test Systems faced was the design of the bolted joints in the main shaft in the test bench.
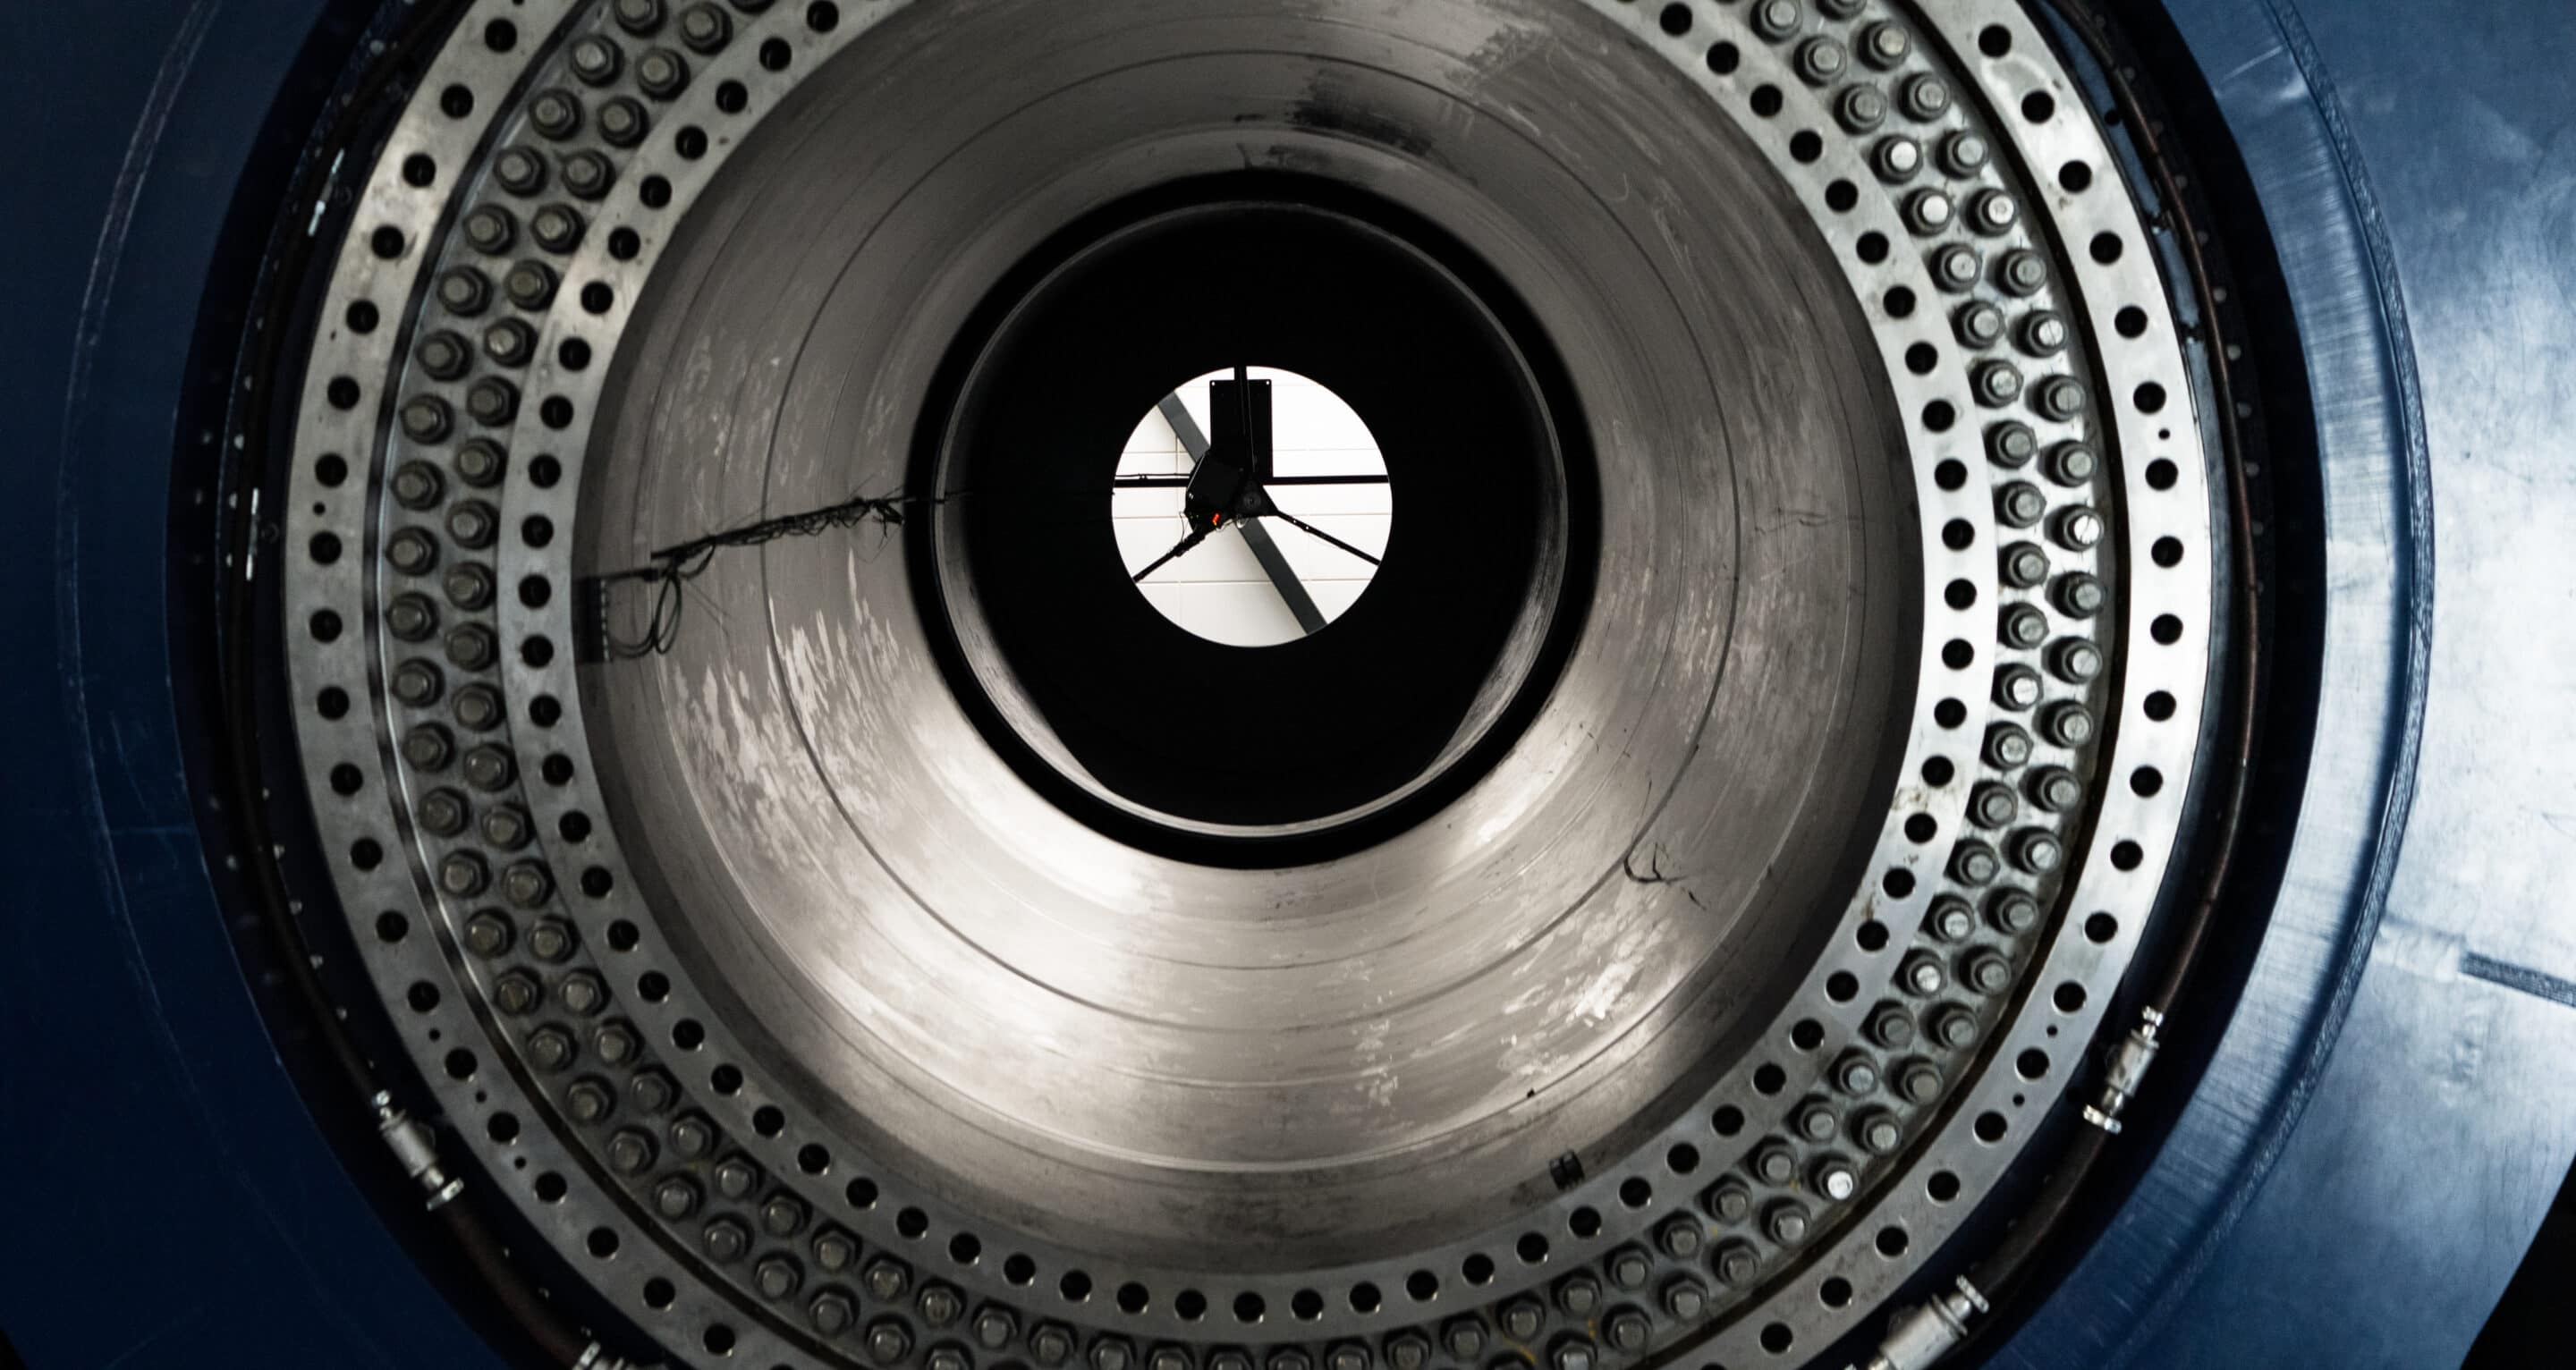
The main shaft has a total length of 13 meters, which in one piece would be too big to handle during production, transport, and installation. So, the main shaft had to be designed in four parts that got bolted together onsite.
“Because we had to split the shaft into smaller parts that could be handled during manufacturing and assembly, the shaft was designed with several bolted joints. It is not a simple task to design a joint that must endure what numerous next generation wind turbine prototypes cannot, and we often end up right at the edge of our design space,” explains Mathias Raabjerg Jensen, Mechanical Design Engineer at R&D Test Systems.

One very effective parameter in strengthening a bolted joint is the diameter the bolts are placed. However, in a shaft of this size (+200 tons), you want to keep the diameter as small as possible to control the price, production, transport, and, most importantly, the interfaces with the other test bench components.
As the main shaft is the inner part of the test bench, it dictates the dimensions of the rest of the test bench. A larger diameter of the shaft would greatly affect the size and price of the main bearing, bearing housing, and the torque reaction system for the motor, which all sits around the main shaft. However, the test bench was already being designed with components on the possible size limit. To avoid making the complete design of the test bench larger, new methods had to be considered when calculating the bolted joints of the main shaft.
It was a difficult task for Mathias Raabjerg Jensen to design the bolted joints in the main shaft, as he had to calculate with the standard uncertainty of clamping forces of up to +/- 30%. To overcome this, he could either use more and larger bolts in the joints to ensure they endure the massive forces that the test bench will perform – or use the ultrasonic measurement technology from Bolt-Check to reduce the clamping force uncertainty to only 5%.
“The Bolt-Check system allows us to reduce the preload scatter and thus increase the expected minimum preload in the joint compared to regular torque tightening. A higher minimum preload reduces sliding in the contact layer between the clamped components and static and dynamic bending moments in the bolts. The result is a joint with more static capacity and longer expected lifetime,” explains Mathias Raabjerg Jensen.
By using Bolt-Check, the calculations of the bolted joints became much more precise, and the design could be optimized only to use the necessary number of bolts to keep the diameter of the main shaft within scope.
The HALT XL started testing in 2021 and has been used to test and validate the V236-15.0 MW™ prototype from Vestas.
(*The article was published in Design, Products & Applications magazine on 4 April 2023.)

